
This article aims to be a comprehensive guide on installing OpenStack on Ubuntu Operating System. In this article, I will show you a simple method for installing Openstack using Devstack. So Let’s Get Started.
Introduction
Openstack
OpenStack is a cloud computing platform based on Linux and designed for building private clouds. It is developed by NASA’s Jet Propulsion Laboratory (JPL) and was released under the Apache License 2.0 license. There are several different components that makeup OpenStack. These components are listed below.
- Compute – Provides virtual machines running on physical servers
- Storage – Provides block-level access to storage devices
- Network – Manages communication between nodes using DPDK
- Block Storage – Provides block-level access for storage devices
- Identity – Provides user authentication and authorization
- Image Service – Provides image service for provisioning VMs
Devstack
DevStack is a series of extensible scripts used to quickly bring up a complete OpenStack environment based on the latest versions of everything from git master. It is used interactively as a development environment and as the basis for much of the OpenStack project’s functional testing. Devstack attempts to support Ubuntu 16.04/17.04, Fedora 24/25, CentOS/RHEL 7, as well as Debian and OpenSUSE.If you do not have a preference, Ubuntu 16.04 is the most tested, and will probably go the smoothest. In the Below Tutorial, we are using Ubuntu 16.04.
Hardware Requirements of a virtual machine –
- VM needs at least 4 GB of memory,
- 100 GB Hard Disk,
- and access to the Internet.
Steps to Install Openstack
Step 1. Create a Ubuntu VM locally on your computer (for example, using VMware Workstation).
Step 2. First, we will update our Ubuntu Machine using apt. Type the below command to update your packages from the Repository.
$ sudo apt-get update

Step 3. You can quickly create a separate stack user to run DevStack.
$ sudo useradd -s /bin/bash -d /opt/stack -m stack
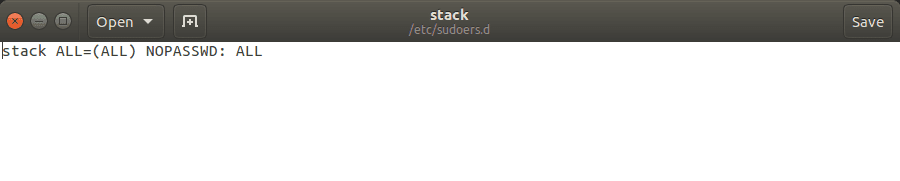
Step 4. Since this user will make many changes to your system, it should have sudo privileges. Now we have to give sudo privileges to the user “stack” which we created in the previous step. To do so open the stack file using “gedit” from this location “/etc/suoders.d/stack” and enter the below line in the file.
$ sudo gedit /etc/sudoers.d/stack
stack ALL=(ALL) NOPASSWD: ALL"
Step 5. Now you need to run the below command for switch over to use the user stack.
$ sudo su - stack
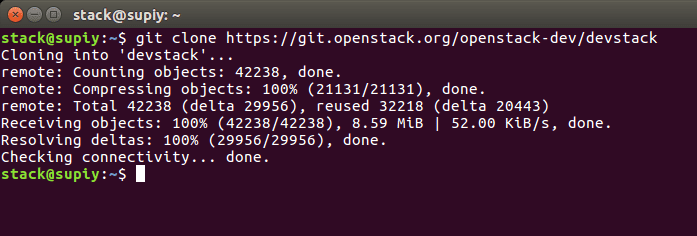
Step 6. Download Devstack Directory in your System from GitHub using git command.
$ git clone https://github.com/openstack-dev/devstack
Step 7. Now go to the “devstack” directory using the below command.
$ cd devstack
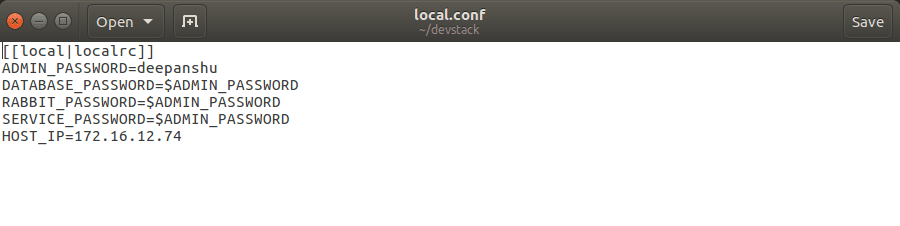
Step 8. -You should create a “local.conf” file in the root of the “devstack” directory and enter the below lines in the “local.conf” file. You can use a different password if you prefer and make sure that you use your own Ubuntu machine’s IP ADDRESS.
Use the below command to create and edit the “local.conf” file.
$ sudo gedit local.conf
[[local|localrc]]
ADMIN_PASSWORD=PASSWORD
DATABASE_PASSWORD=$ADMIN_PASSWORD
RABBIT_PASSWORD=$ADMIN_PASSWORD
SERVICE_PASSWORD=$ADMIN_PASSWORD
HOST_IP=SYSTEMS_IP_ADDRESS
Step 9. Now run the stack script using the below command. This process will take 1-2 hours to set up OpenStack on your Machine depending upon your Internet connection speed.
$ ./stack.sh
Step 10. Once the installation is completed, at the end of the process you should see output something like this –
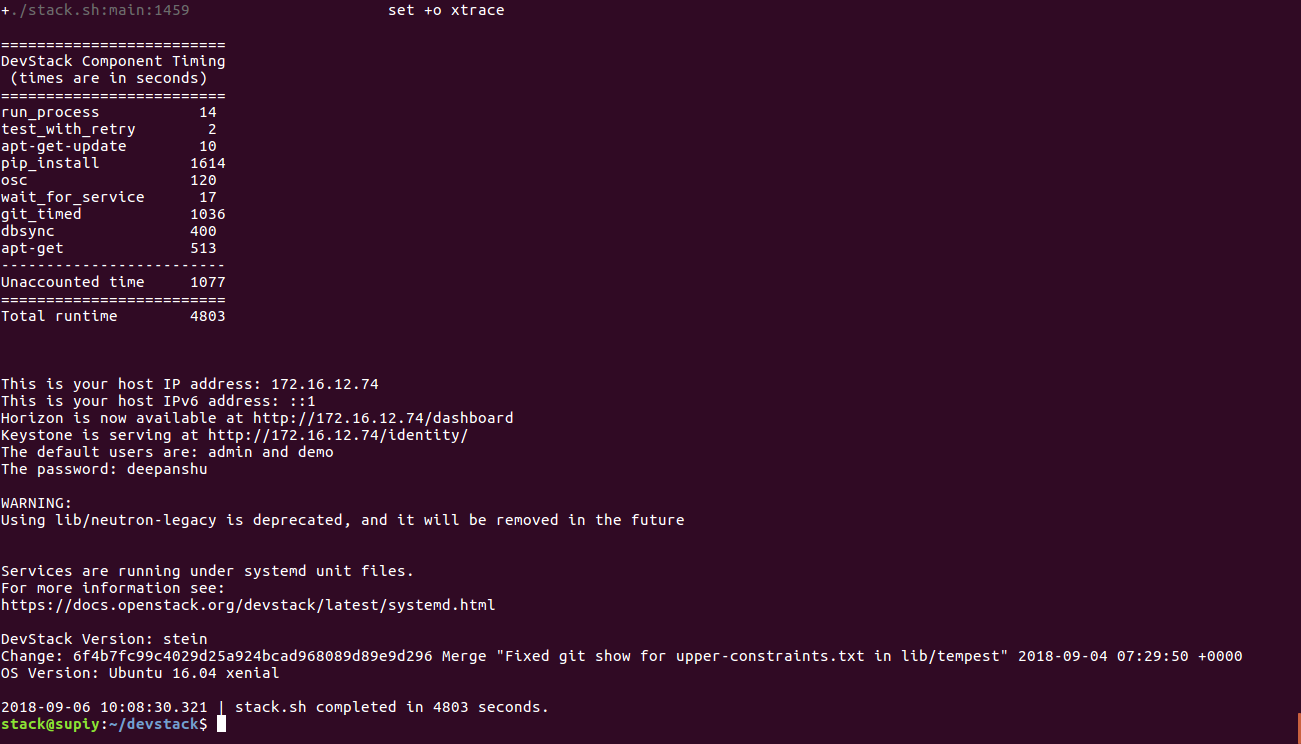
Step 11. Now go to Browser and type IP_ADDRESS and hit enter you can see Openstack Dashboard like this.
Note: The username for the Dashboard is admin” and the password is what you write in the “local.conf” file.

Conclusion
So, this guide is about how you can simply install Openstack on your Ubuntu System. You can always use the above steps to install Openstack using Devstack. . If you need any help on how to work on Openstack, let us know in the comments below.
Bookmarked!!, I love your site! Click to read more: How To Lock Files
someone to write your essay is a great way of relieving your academic stress. Homeworks Online Despite this fact, many students are still skeptical about hiring someone to do their assignment and homework.