You are currently viewing Create and Manage Group Policy on Windows Server 2016
<span class="bsf-rt-reading-time"><span class="bsf-rt-display-label" prefix=""></span> <span class="bsf-rt-display-time" reading_time="3"></span> <span class="bsf-rt-display-postfix" postfix="min read"></span></span><!-- .bsf-rt-reading-time -->

Create and Manage Group Policy on Windows Server 2016

This article is a part of Windows Server 2016 Tutorials series. Within the previous Article, we Create OU and add a user account to it. Now we’ll move forward and see How to Create and manage Group Policy on Windows Server 2016. 

The process of Applying Policy to computers or network is almost same as in the previous Version of Windows Server.Group Policy is a feature of Microsoft Windows that manage the working environment of computer accounts and user accounts.Using Group Policy an Administrator can define options that what a user can do on a network, It includes that what folders, files, and applications a user can access.The collection of computer and user settings are known as GPOs (Group Policy Objects, which are managed by an Administrator from Group Policy Management Console.

Group Policy Objects are handled in a specific order

Local Group Policy – Any settings in the Computer’s Local policy.
Site – Any Group Policies associated with the AD site in which the computer located.
Domain – Any Group Policies associated with the Domain in which the computer located.
Organizational Unit -Grop Policies allocated to the AD OU (Organizational Unit) in which the user or computer are placed.

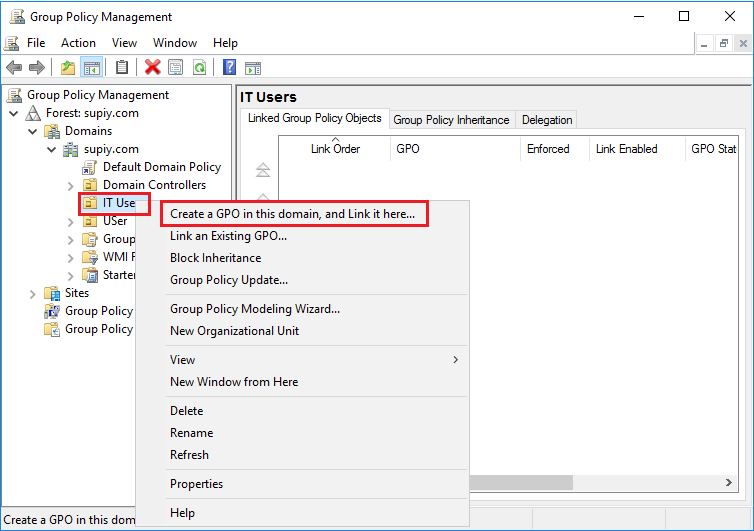
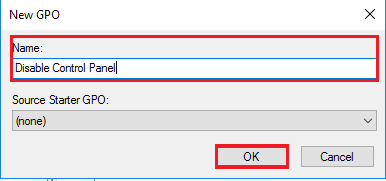
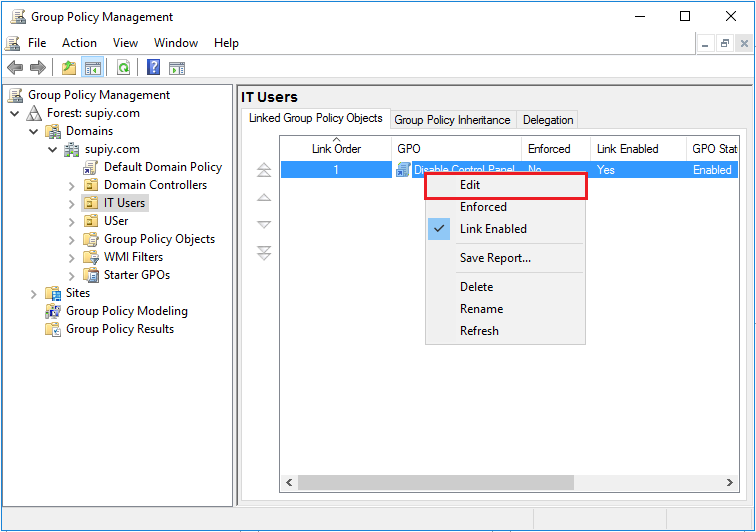
Implementing Group Policy in Windows Server 2016

Step 1.We will create a GPO (Group Policy Object), to create that Open your Windows Server and open Server Manager console > Tools  > Click on Group Policy management. 
 
Step 2. We want to apply policy on OU of IT Users, Right -click on IT Users > and select Create a GPO in this domain, and Link here…
 
Step 3.Here we have to enter the name of the new GPO, enter any name for GPO in the Name field > when finish click on OK.
 
Step 4. Right Click on the Group Policy Object name and then click edit.
 
Here we have to choose the policy which we want to apply.If you want to apply the policy to the users then go to User Configuration and if you want to apply the policy on the computer then choose Computer Configurations.
 
Step 5. A new window of Group Policy Management editor will open.Expand User Configuration > Policies > Administrative Templates > Control Panel > Double Click on Display.  
 
Step 6. On the right side..Double Click on  Disable the Display Control Panel. Here Select Enabled and Click on OK.
 
Now, whenever any user from IT Users wants to open the control panel then he will get an error message and he can’t able to open Control Panel. Now you can create or manage the GPOs from the Group Policy Management Tool.
 
Congratulations! finally, we have Successfully Applied a Policy to an OU. In next Part, we will see What is DHCP and How DHCP Works.
 
Download the “Tutorials for Windows server” Android application Now.
 
So above Steps is all about How to Create and Manage Group Policy. Using this you can apply n number of Policies to the users. Hope you all like this post, share it with others too, and leave a comment below if you need any suggestions at any steps.

Piyush Kumawat

Ethical Hacker || Penetration Tester || Gamer || Blogger || Application Security Engineer

This Post Has 2 Comments

Leave a Reply