
This article is a part of the pawnWindows Server 2016 tutorials series. Within the previous article, we see How to Configure FTP Server on Windows Server 2016 using IIS. Now we’ll move forward and see How to Install and configure Windows Server Backup on Windows Server 2016. So Let’s Get Started.
As the name suggests it is used for Backup and Restore. Windows Server Backup is a feature in the Windows Server environment that use for backup and restore of Windows Server. Using Windows Server Backup we can create full server backup, backup of the system state, selected storage volumes backups. This feature was firstly introduced in Windows Server 2008. Earlier it is known as NTBackup and after that, it was replaced with Windows Server Backup. Before we configure the backups, we have to install the Windows Server Backup feature from Server Console.
Installation of Windows Server Backup Feature on Windows Server 2016
Step 1. Open your Server Machine and open the Server Manager console and click on Add Roles and Features.


Step 2. Now in this Window, Select the Role-based or feature-based installation option and click on Next.

Step 3. Now we have to Select the Server, just Select the Server from the Server Pool. and click on Next.

Step 4. On the Server, Roles Window Click on Next. 

Step 5. On the Features Window, Check the Windows Server Backup Role and simply Click on Next.

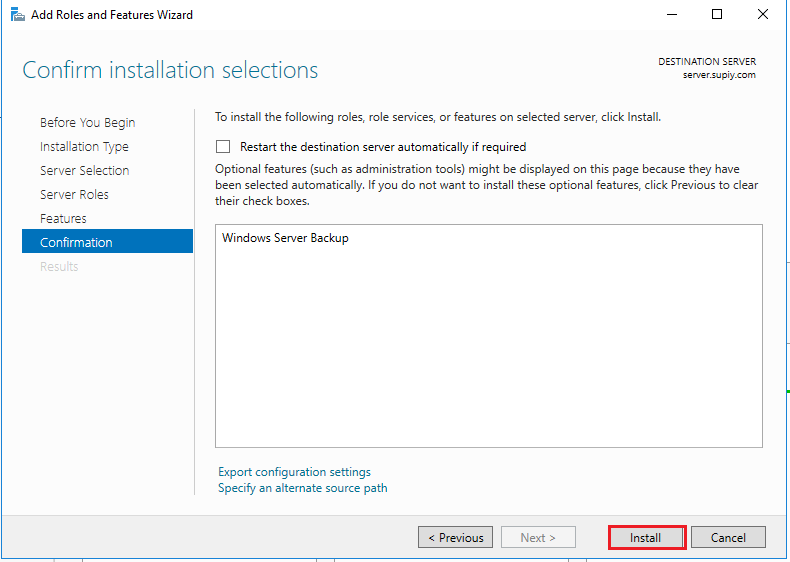
Step 6. Now you will see a window that confirms the Installation Selections. Click on Install.
Step 7. Wait for the installation bar to complete, after that the Installation of Windows Server Backup role is completed on your Server. Click on Close.

Configuration of Windows Server Backup
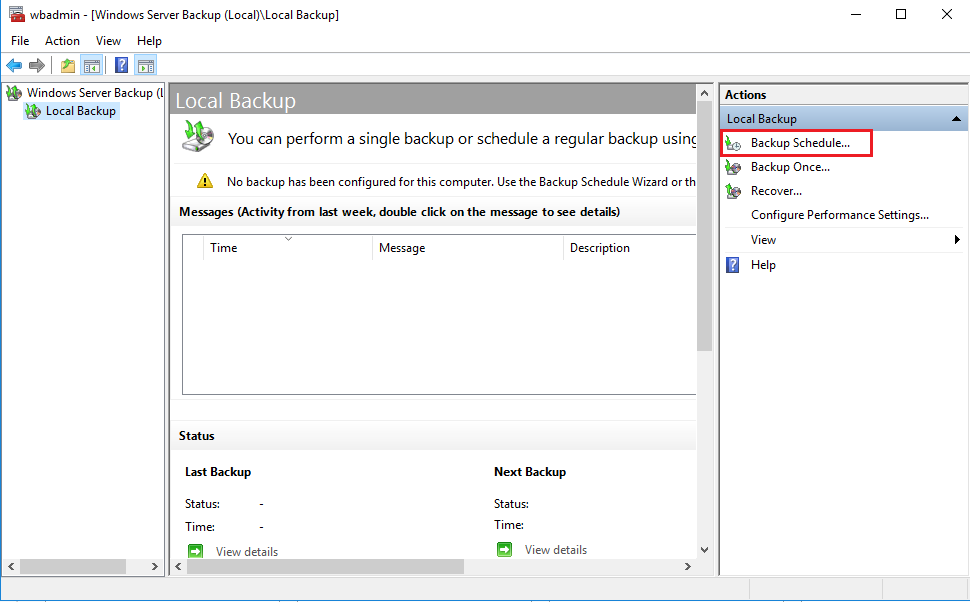
Step 1. First, Open Windows Server Backup. To do so, Open your Windows Server and open Server Manager console > Tools > click on Windows Server Backup.

Step 2. On the Right-hand Panel, you can see Actions Menu, form that Select Backup Schedule.
Step 3. The wizard will open, read and click on Next.

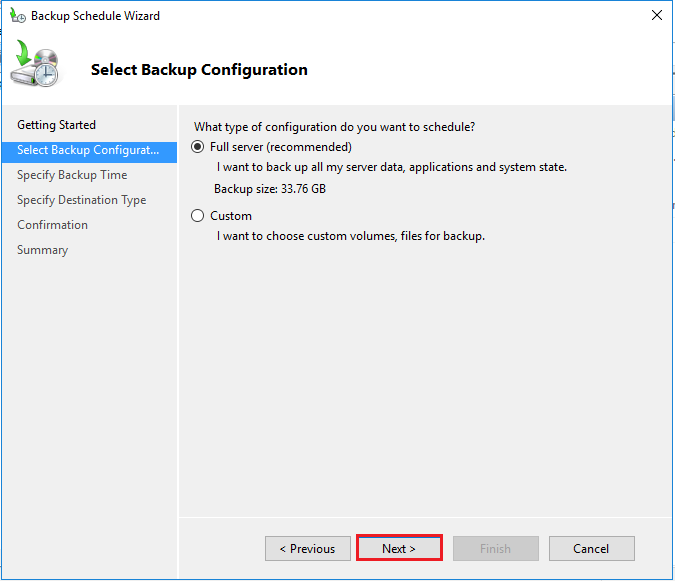
Step 4. Here you have to select which type of backup you want. Select Full Server if you want to backup all data of the Server, If you want to backup a specific volume then Select Custom and then select a Volume. Click on Next.
Step 5. In the Next Window, you have to select the time at what time the backup will start. Select the time and click on Next.

Step 6. Here we have to Specify Destination Type, choose where you’d like to backup your data and then click on the Next button.I am Selecting Back up to a shared network folder.

Step 7. In the next screen give the remotely shared folder path where you want to backup your data. Click on Next.


Click Finish, on the Confirmation screen to save your backup schedule and click Close to exit.


Congratulations! finally, we have Successfully Installed and configured Windows Server Backup on Windows Server 2016.
Download the “Tutorials for Windows server” Android application Now.
So above Steps is How you can create Windows Server Backup on windows server 2016 so that you have a backup of your server data in the remote folder. Hope you all like this post, share it with others too, and Leave a comment below if you need any suggestions at any steps.