
This article is a part of the Guide for Burp Suite series. Within the previous article, we see how you can Set-Up the FoxyProxy tool with the Firefox browser. Now we’ll move forward and see how we can install Burp’s CA (Certificate Authority) Certificate in the Firefox Browser. So Let’s Get Started.
Use of CA Certificate in Burp Suite
Burp uses custom certificates to Man-in-the-Middle (MitM) the traffic. All of these certificates are signed by Burp’s root Certificate Authority (CA). Each installation of Burp generates its own root CA that needs to be installed in the browser or Operating System’s certificate store to be recognized properly. Otherwise, browsers will return warnings and some thick client applications will not recognize these certificates as valid and you will see an error like this.

By default, when you browse an HTTPS website via Burp, the Proxy generates a TLS certificate for each host, signed by its own Certificate Authority (CA) certificate. This CA certificate is generated the first time Burp is run and stored locally. To use Burp Proxy most effectively with HTTPS websites, you will need to install Burp’s CA certificate as a trusted root in your browser.
This tutorial assumes you have already installed Burp Suite and you are running on Windows or Linux machine. Now we will see how we can install burp’s CA Certificate in firefox so that we can intercept the HTTPS traffic.
Install Burp’s CA Certificate
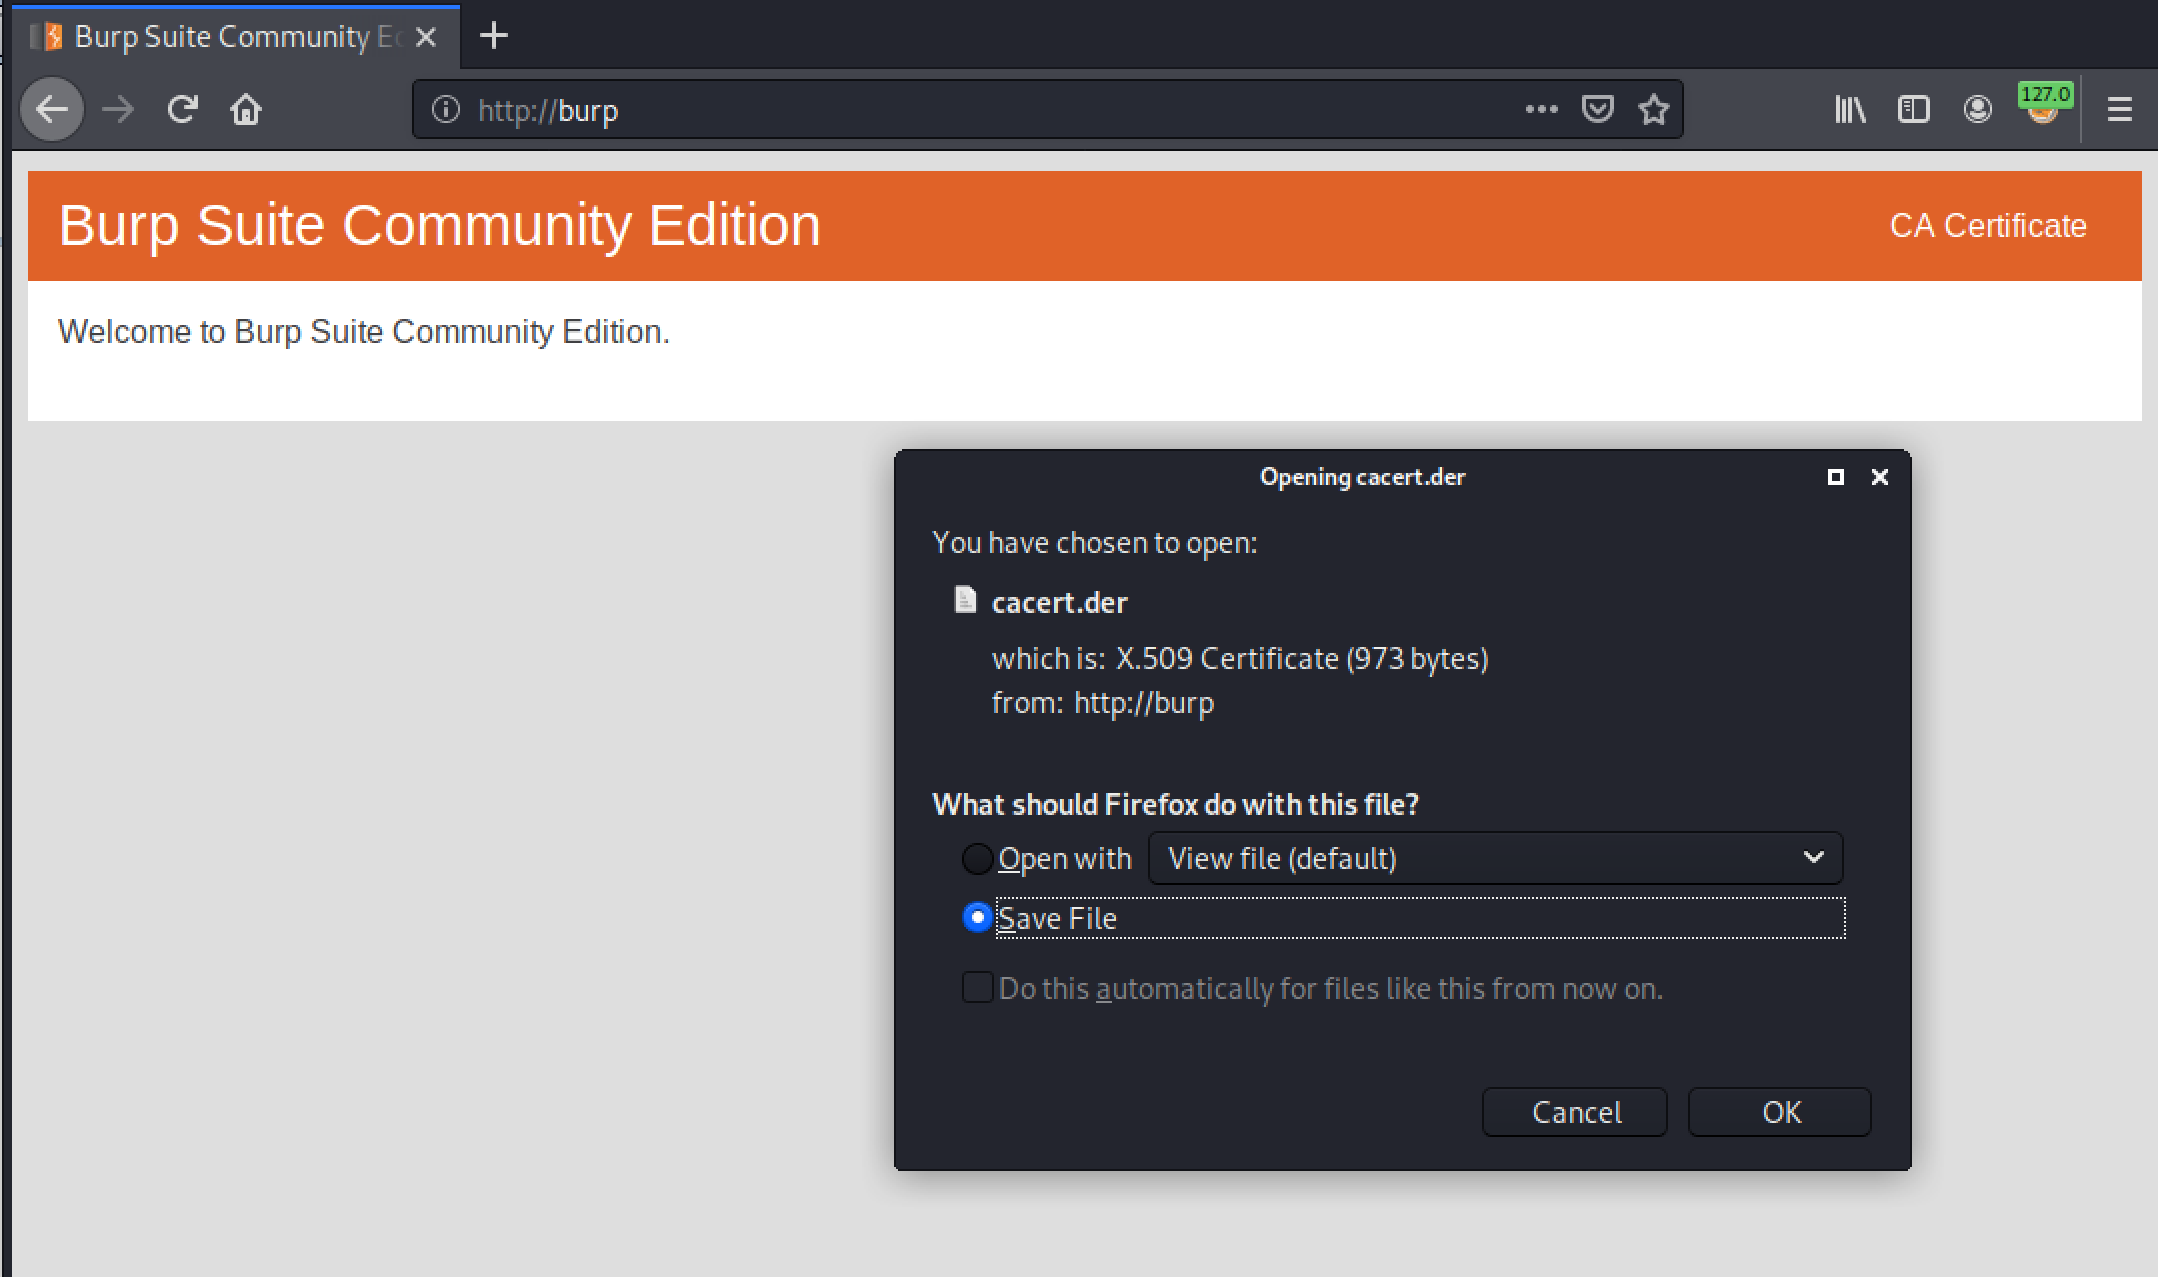
1. Run the burp suite and visit “http://burp” in your browser and click the “CA Certificate” button. After that download and save your Burp CA certificate in your system.
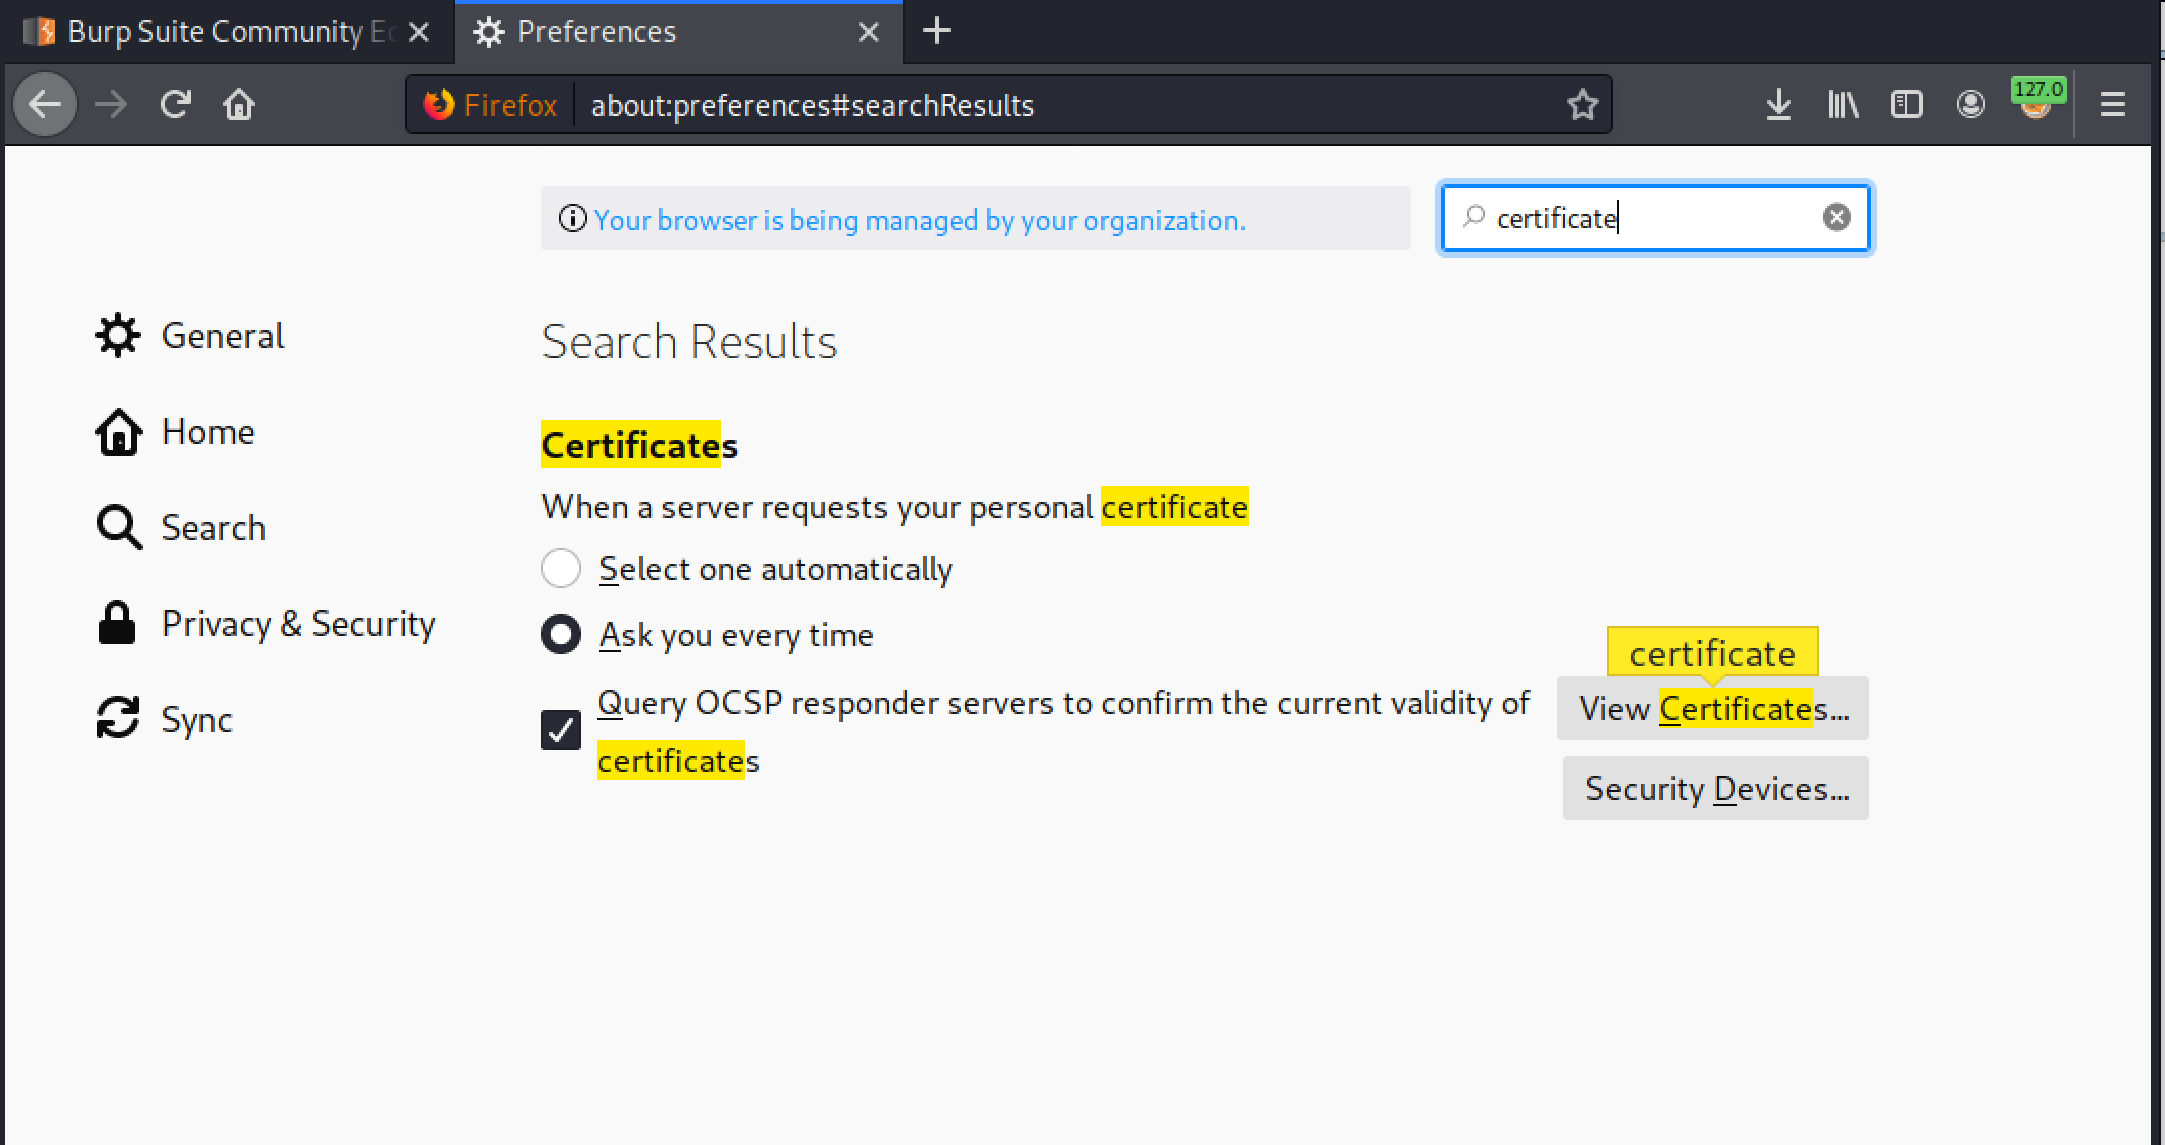
2. In this step, we will Import the downloaded certificate in the firefox browser. To do so, In Firefox open the Firefox Menu, Click on “Preferences”. Now search for “certificate” in the search bar and click on the “View Certificates” button.
3. Click on the “Import” button, select the Burp CA certificate file that you have previously downloaded on your system and click on the “Open” button.

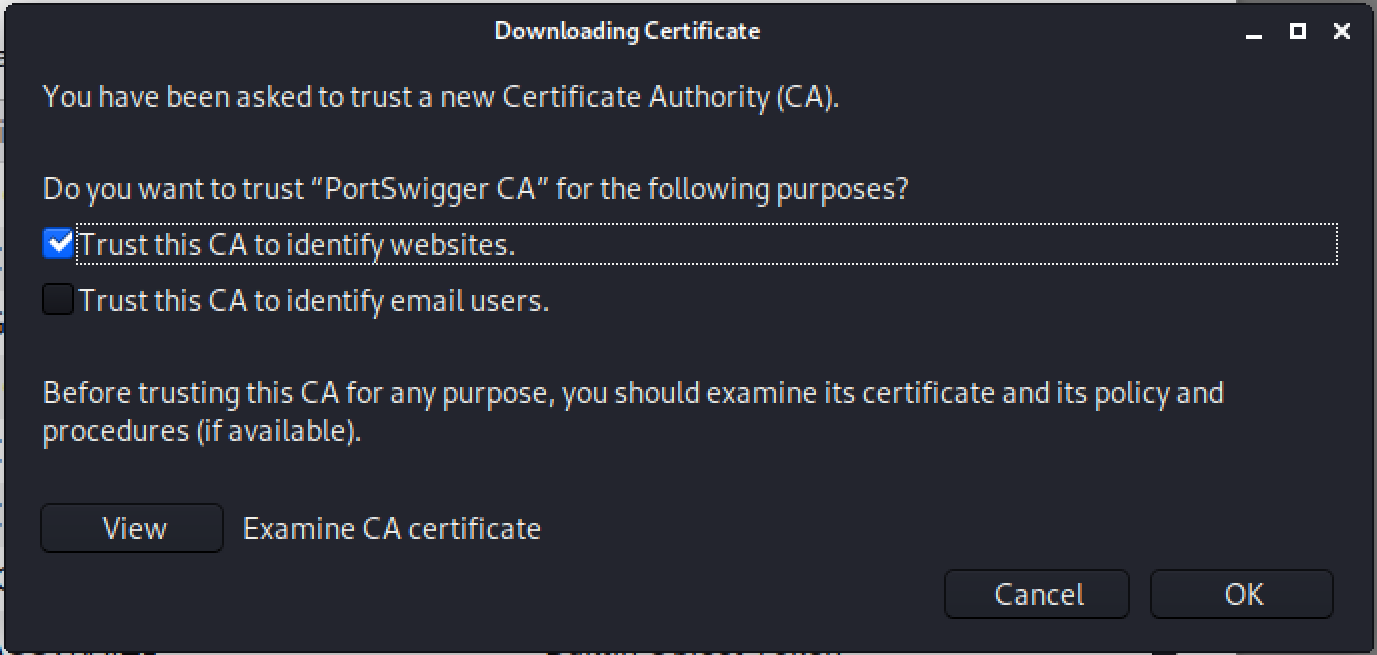
4. In the dialog box that pops up, check the box “Trust this CA to identify websites”, and click the “OK” button.
5. Now close all dialogs and restart Firefox. If everything has worked, you should now be able to visit any HTTPS URL via Burp without any security warnings.
Note that we have successfully intercepted the HTTPS traffic in the burp suite.

Congratulations! finally, we have successfully Installed the Burp’s CA Certificate in the Firefox Browser. In the next Part, we will see how we can Install OWASP Juice Shop on Kali Linux.
#burpsuite #burpsuitetutorial #burp #webapplicaitonpentesting