
This article is a part of the Guide for Burp Suite series. Within the previous article, we see what is OWASP Juice Shop and how to install OWASP Juice Shop on Kali Linux using docker. Now we’ll move forward and see how to create a project in Burp Suite. and learn about the Burp Configuration file So Let’s Get Started.
The first thing you need to do is to install BurpSuite in your system if it’s not installed. Burp Suite Community edition is already installed in Kali Linux. You can also download the Burp Suite installer for your required platform i.e Windows, macOS, or Linux from this link. Now after downloading the Burp Suite Installer you can install it in your system. After installing run the Burp Suite application.
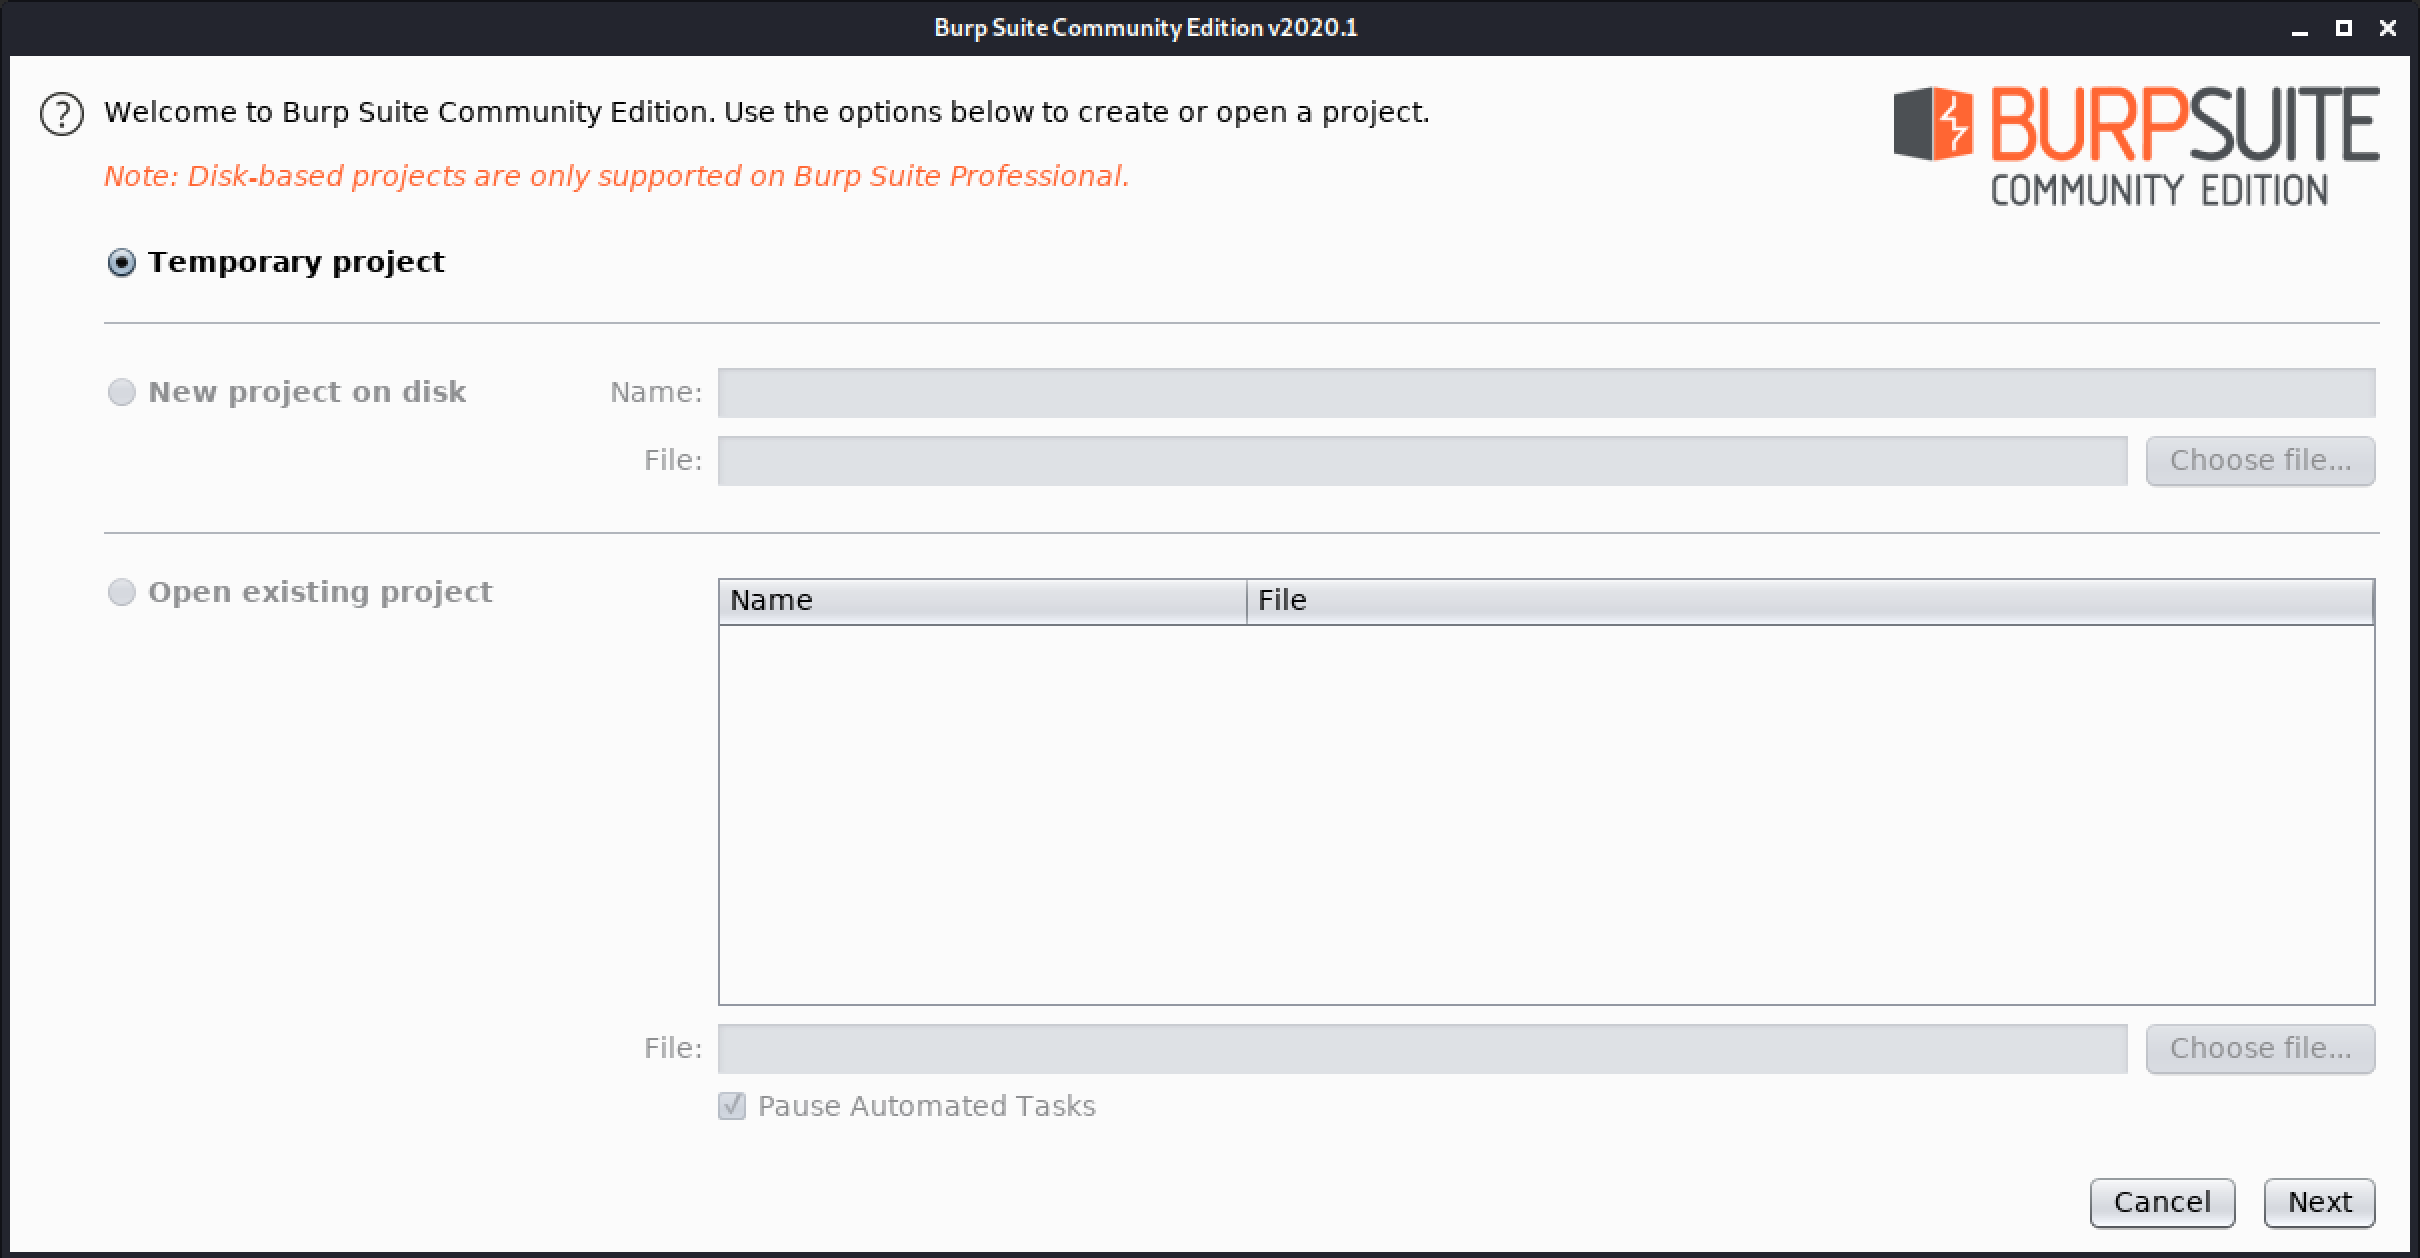
After running the Burp Suite, the startup wizard will be displayed. This wizard lets you select which project and which project configuration you want to use.
Select a Project
You can select from the following options to create or open an existing project.
- Temporary Project – This option is useful for quick tasks where you don’t want to save any data in the disk. All data will be temporary data and it will be lost when Burp closes.
- New project on disk – This creates a new project that will store in the disk at the given path. This file will hold all of the data and configuration for the project, and data is saved incrementally as you work. This will create a “.burp” extension file which you can use later. This file is known as the Burp Project file.
- Open existing project – This gives us functionality to open an existing project from a Burp project file. A list of recently opened projects is shown for the quick selection. You can also rename an existing project.
Select the Configuration
You can select from the following options for the project configuration
- Use Burp defaults – This will open the Burp project using Burp’s default options.
- Use options saved with project – This option is only available when you are opening an existing burp project, and it will open the project using the options that were saved in the burp project file.
- Load from configuration file – This will open the project using the existing saved Burp configuration file. A list of recently used configuration files is shown for quick selection.

After selecting the preferred project and configuration, click on “Start Burp” to start the Burp Suite.
Congratulation! finally, you know how to select the Burp project and the Burp configuration. In the next Part, we will discuss some of the features present in the Dashboard tab.
#burpsuite #burpsuitetutorial #burp #webapplicaitonpentesting