
This article is a part of the Guide for Burp Suite series. Within the previous article, we learn about some of the features of the Repeater tab. Now we’ll move forward and see how to work with the Burp Repeater tab. So Let’s Get Started.
Burp Repeater is a simple tool for manually manipulating and resending individual HTTP and WebSocket requests, and analyzing the application’s responses. For all the Practical we will be using OWAS Juice Shop which is running on a docker instance.
Working with Burp Repeater
The following are the steps you can go through to use Burp Repeater
1. Open the Firefox browser and enable the network proxy from the Foxyproxy extension.
2. In the Firefox browser, visit the OWASP Juice Shop application.
3. Go to the “Proxy” tab, and then the “HTTP history” sub-tab. Select any request which you want to test using the Repeater and then right-click on the message and click on “Send to Repeater”.

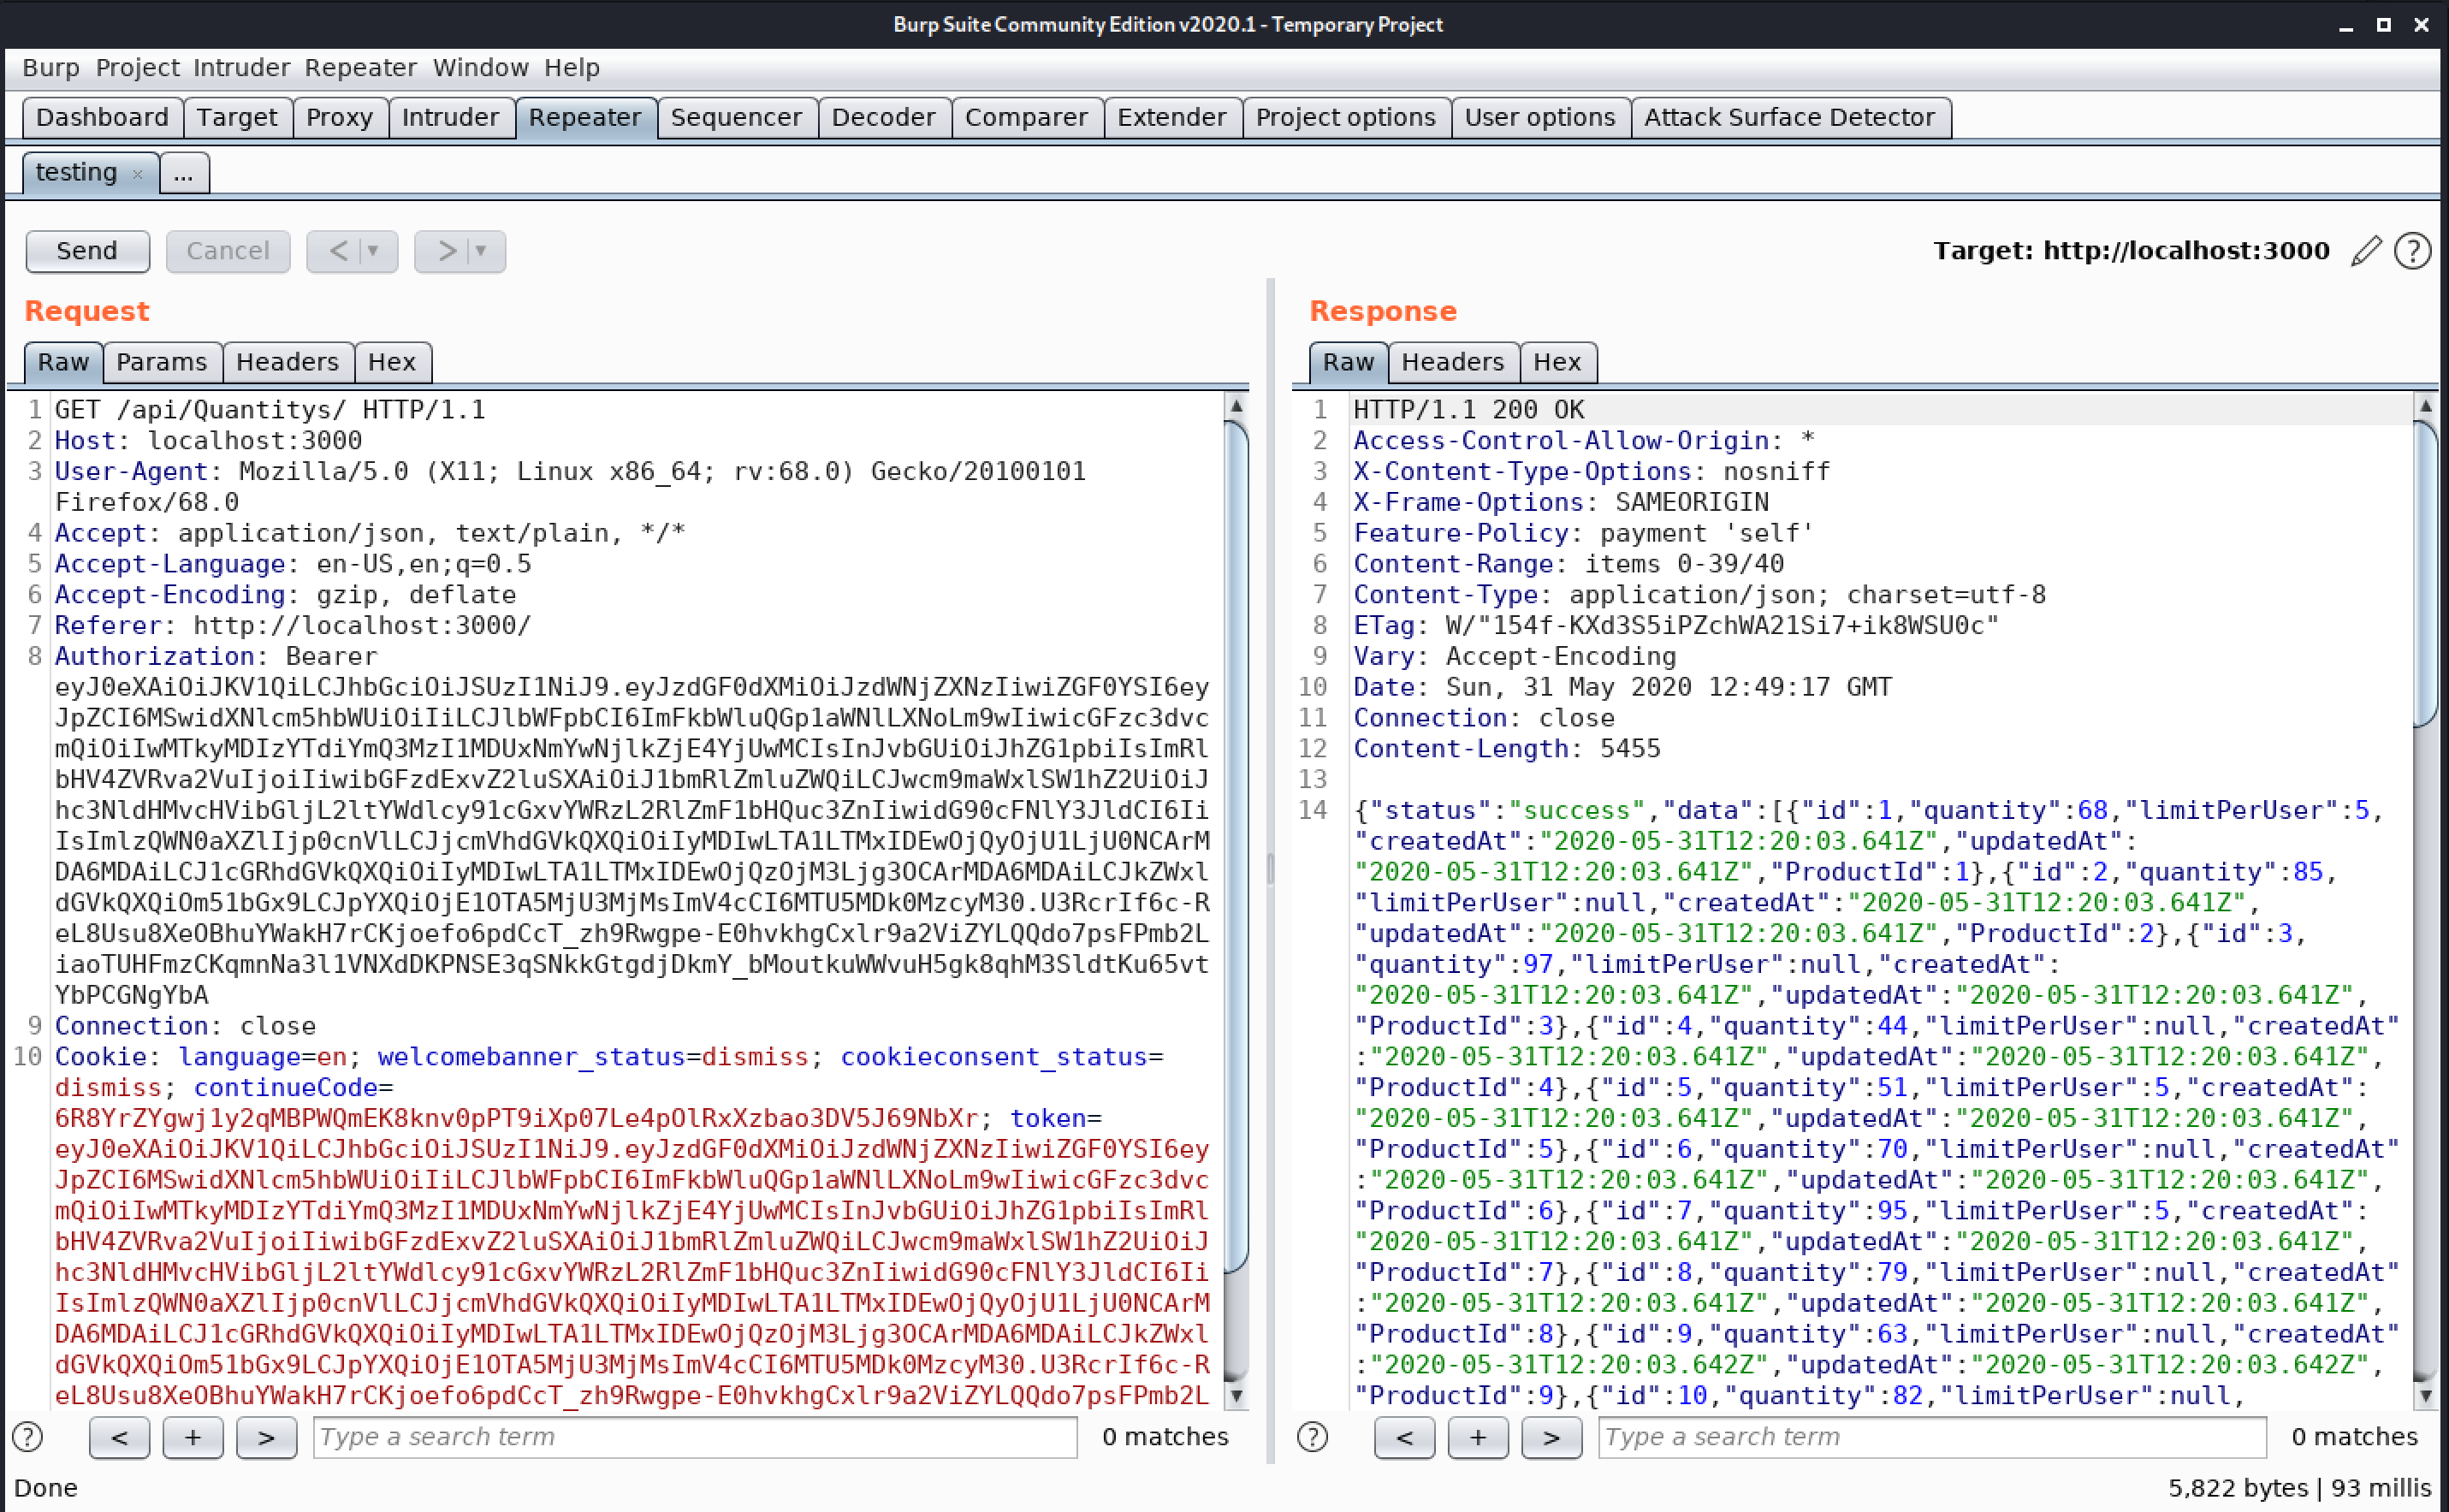
4. Now go to the Repeater tab. Here we can see the HTTP request which we send from the HTTP history tab.
5. Now make any changes on the request and click on the “Send” button to send the request to the server. On the left-hand side, we have the request and on the right-hand side, we have the response of that request. This is how you can make changes in the request and see the response of that specific request.
Congratulations! finally, we know how to work with the Burp Repeater tab. In the next Part, we will discuss the Burp Decoder tab.
#burpsuite #burpsuitetutorial #burp #webapplicaitonpentesting