
This article is a part of the Guide for Burp Suite series. Within the previous article, we see how to work with the Burp Proxy tab. Now we’ll move forward and learn about some of the features of the Intruder tab. So Let’s Get Started.
Burp Intruder is a powerful tool for automating customized attacks against web applications. It can be used to automate all kinds of tasks that may arise during your testing. It is extremely flexible and configurable and can be used to automate all kinds of tasks that arise when testing applications. For example, automate tasks like Brute force for the login page.
Looking more closely at the Intruder tab, you will notice there are four subtabs available: Target, Positions, Payloads, and Options.
- Target – This is used to configure the details of the target server for the attack.
- Positions – This is used to configure the request template for the attack, together with payload positions, and the attack type (this determines the way in which payloads are assigned to payload positions).
- Payloads – This is used to configure one or more sets of payloads, which will be placed into payload positions during the attack.
- Options – This is used to configure numerous other options affecting the attack.
The simplest way to configure Intruder is to select the request you want to attack anywhere within Burp (HTTP History, Repeater, Site map,etc.) and choose the “Send to Intruder” option on the menu. This will send the selected request to Intruder.
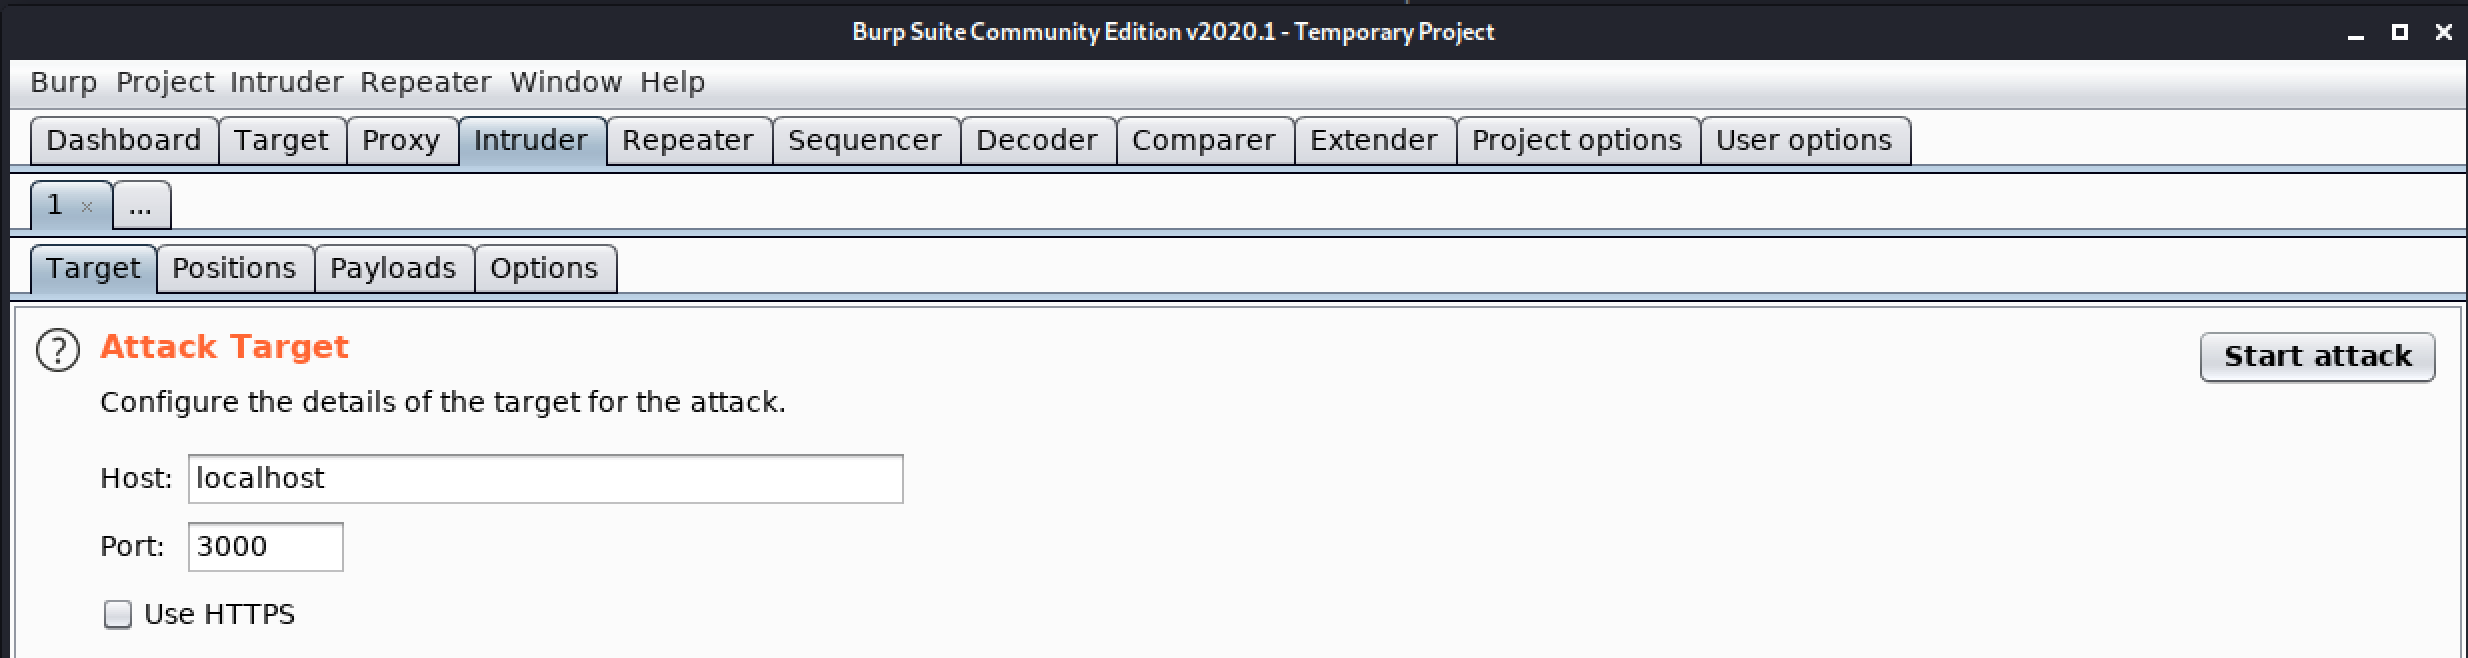
1. Target
Attack Target
This tab is used to configure the details of the target for the attack.
- Host – Here we have to enter the IP address or hostname of the target server.
- Port – Here we have to enter the port number of the HTTP or HTTPS service.
- Use HTTPS – We need to choose whether the target is using HTTPS or not.
2. Positions
Payload Positions
This tab is used to Configure the positions where payloads will be inserted into the base request. The attack type determines the way in which payloads are assigned to payload positions.
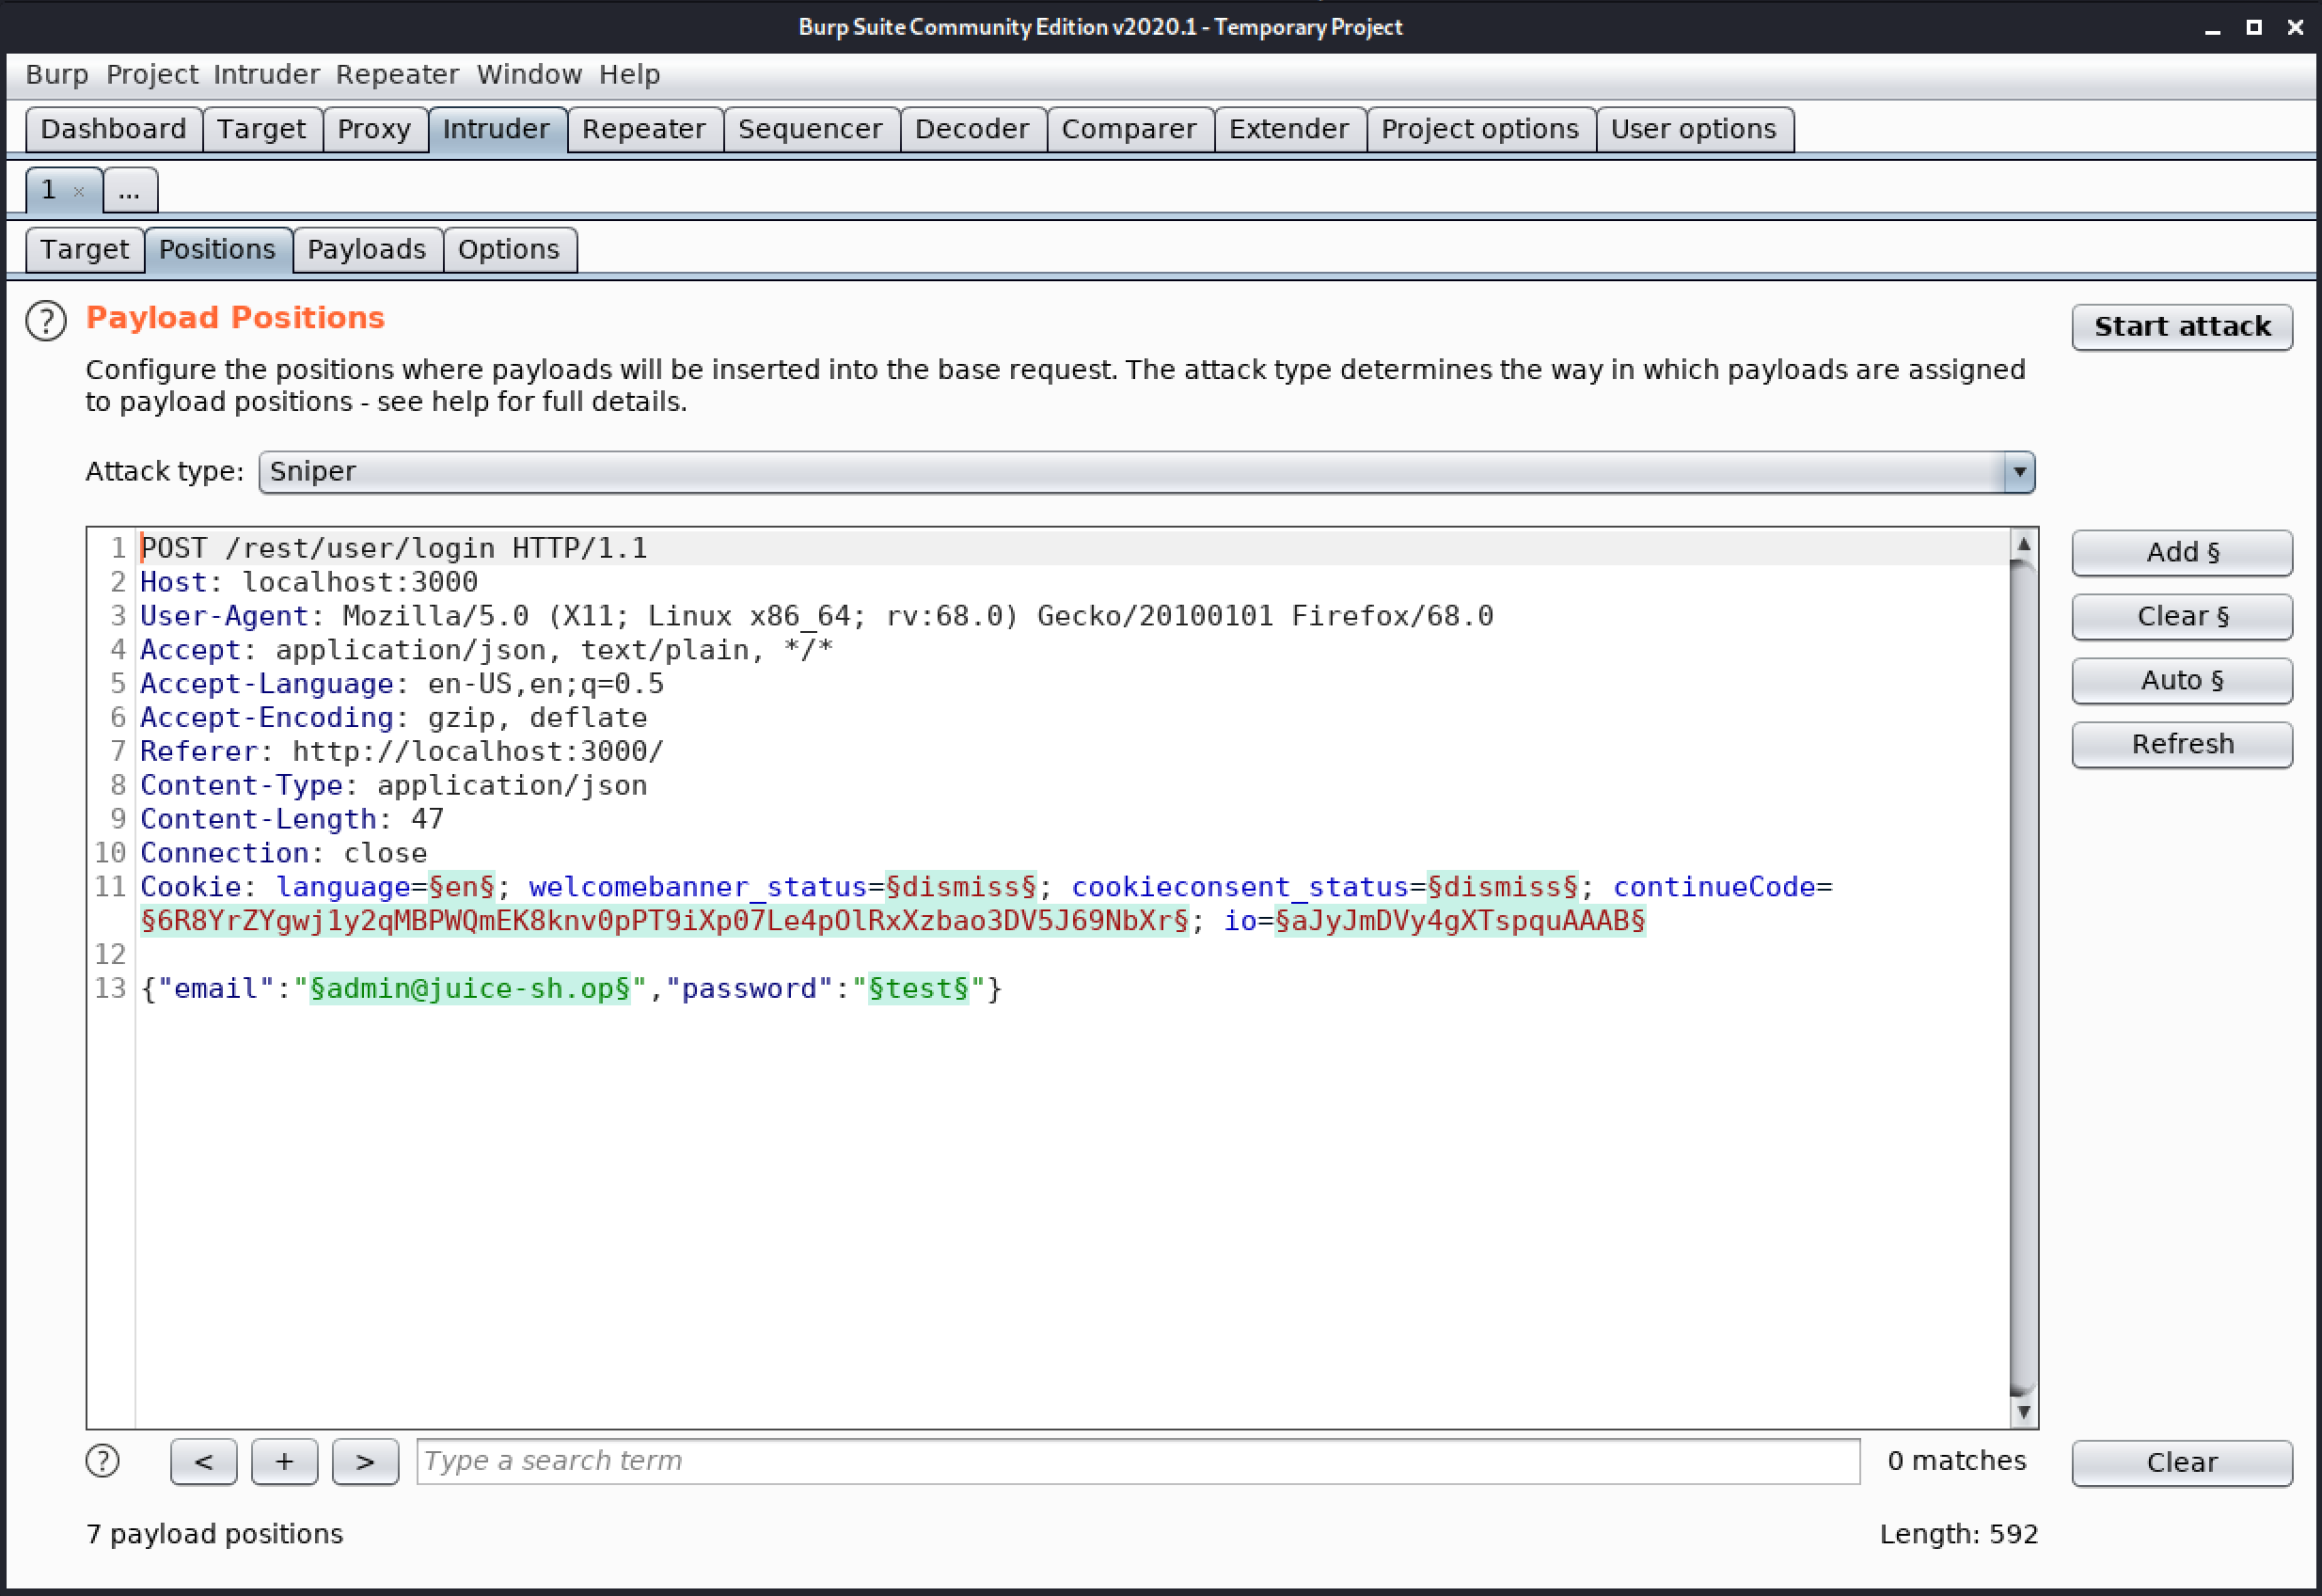
Controls
- Add § – This will select the selected text as a payload position in the request template.
- Clear § – This removes all payload positions from the request template.
- Auto § – This makes a guess as to where it might be useful to position payloads and places payload position accordingly.
- Refresh – This will refresh the syntax colorizing of the request template editor, if necessary.
- Clear – This deletes the entire request template.
Attack Type
Burp Intruder supports various attack types like Sniper, Battering ram, Pitchfork, and Cluster bomb.
- Sniper – The sniper attack uses only one payload set, and it replaces only one position at a time. It loops through the payload set, first replacing only the first marked position with the payload and leaving all other positions to their original value. After it’s done with the first position, it continues with the second position.
- Battering ram – The battering ram attack type places the same payload value in all positions. It uses only one payload set. It loops through the payload set and replaces all positions with the payload value.
- Pitchfork – The pitchfork attack-type uses one payload set for each position. It places the first payload in the first position, the second payload in the second position, and so on.
- Cluster bomb – The cluster bomb attack tries all different combinations of payloads. It still puts the first payload in the first position and the second payload in the second position. But when it loops through the payload sets, it tries all combinations.
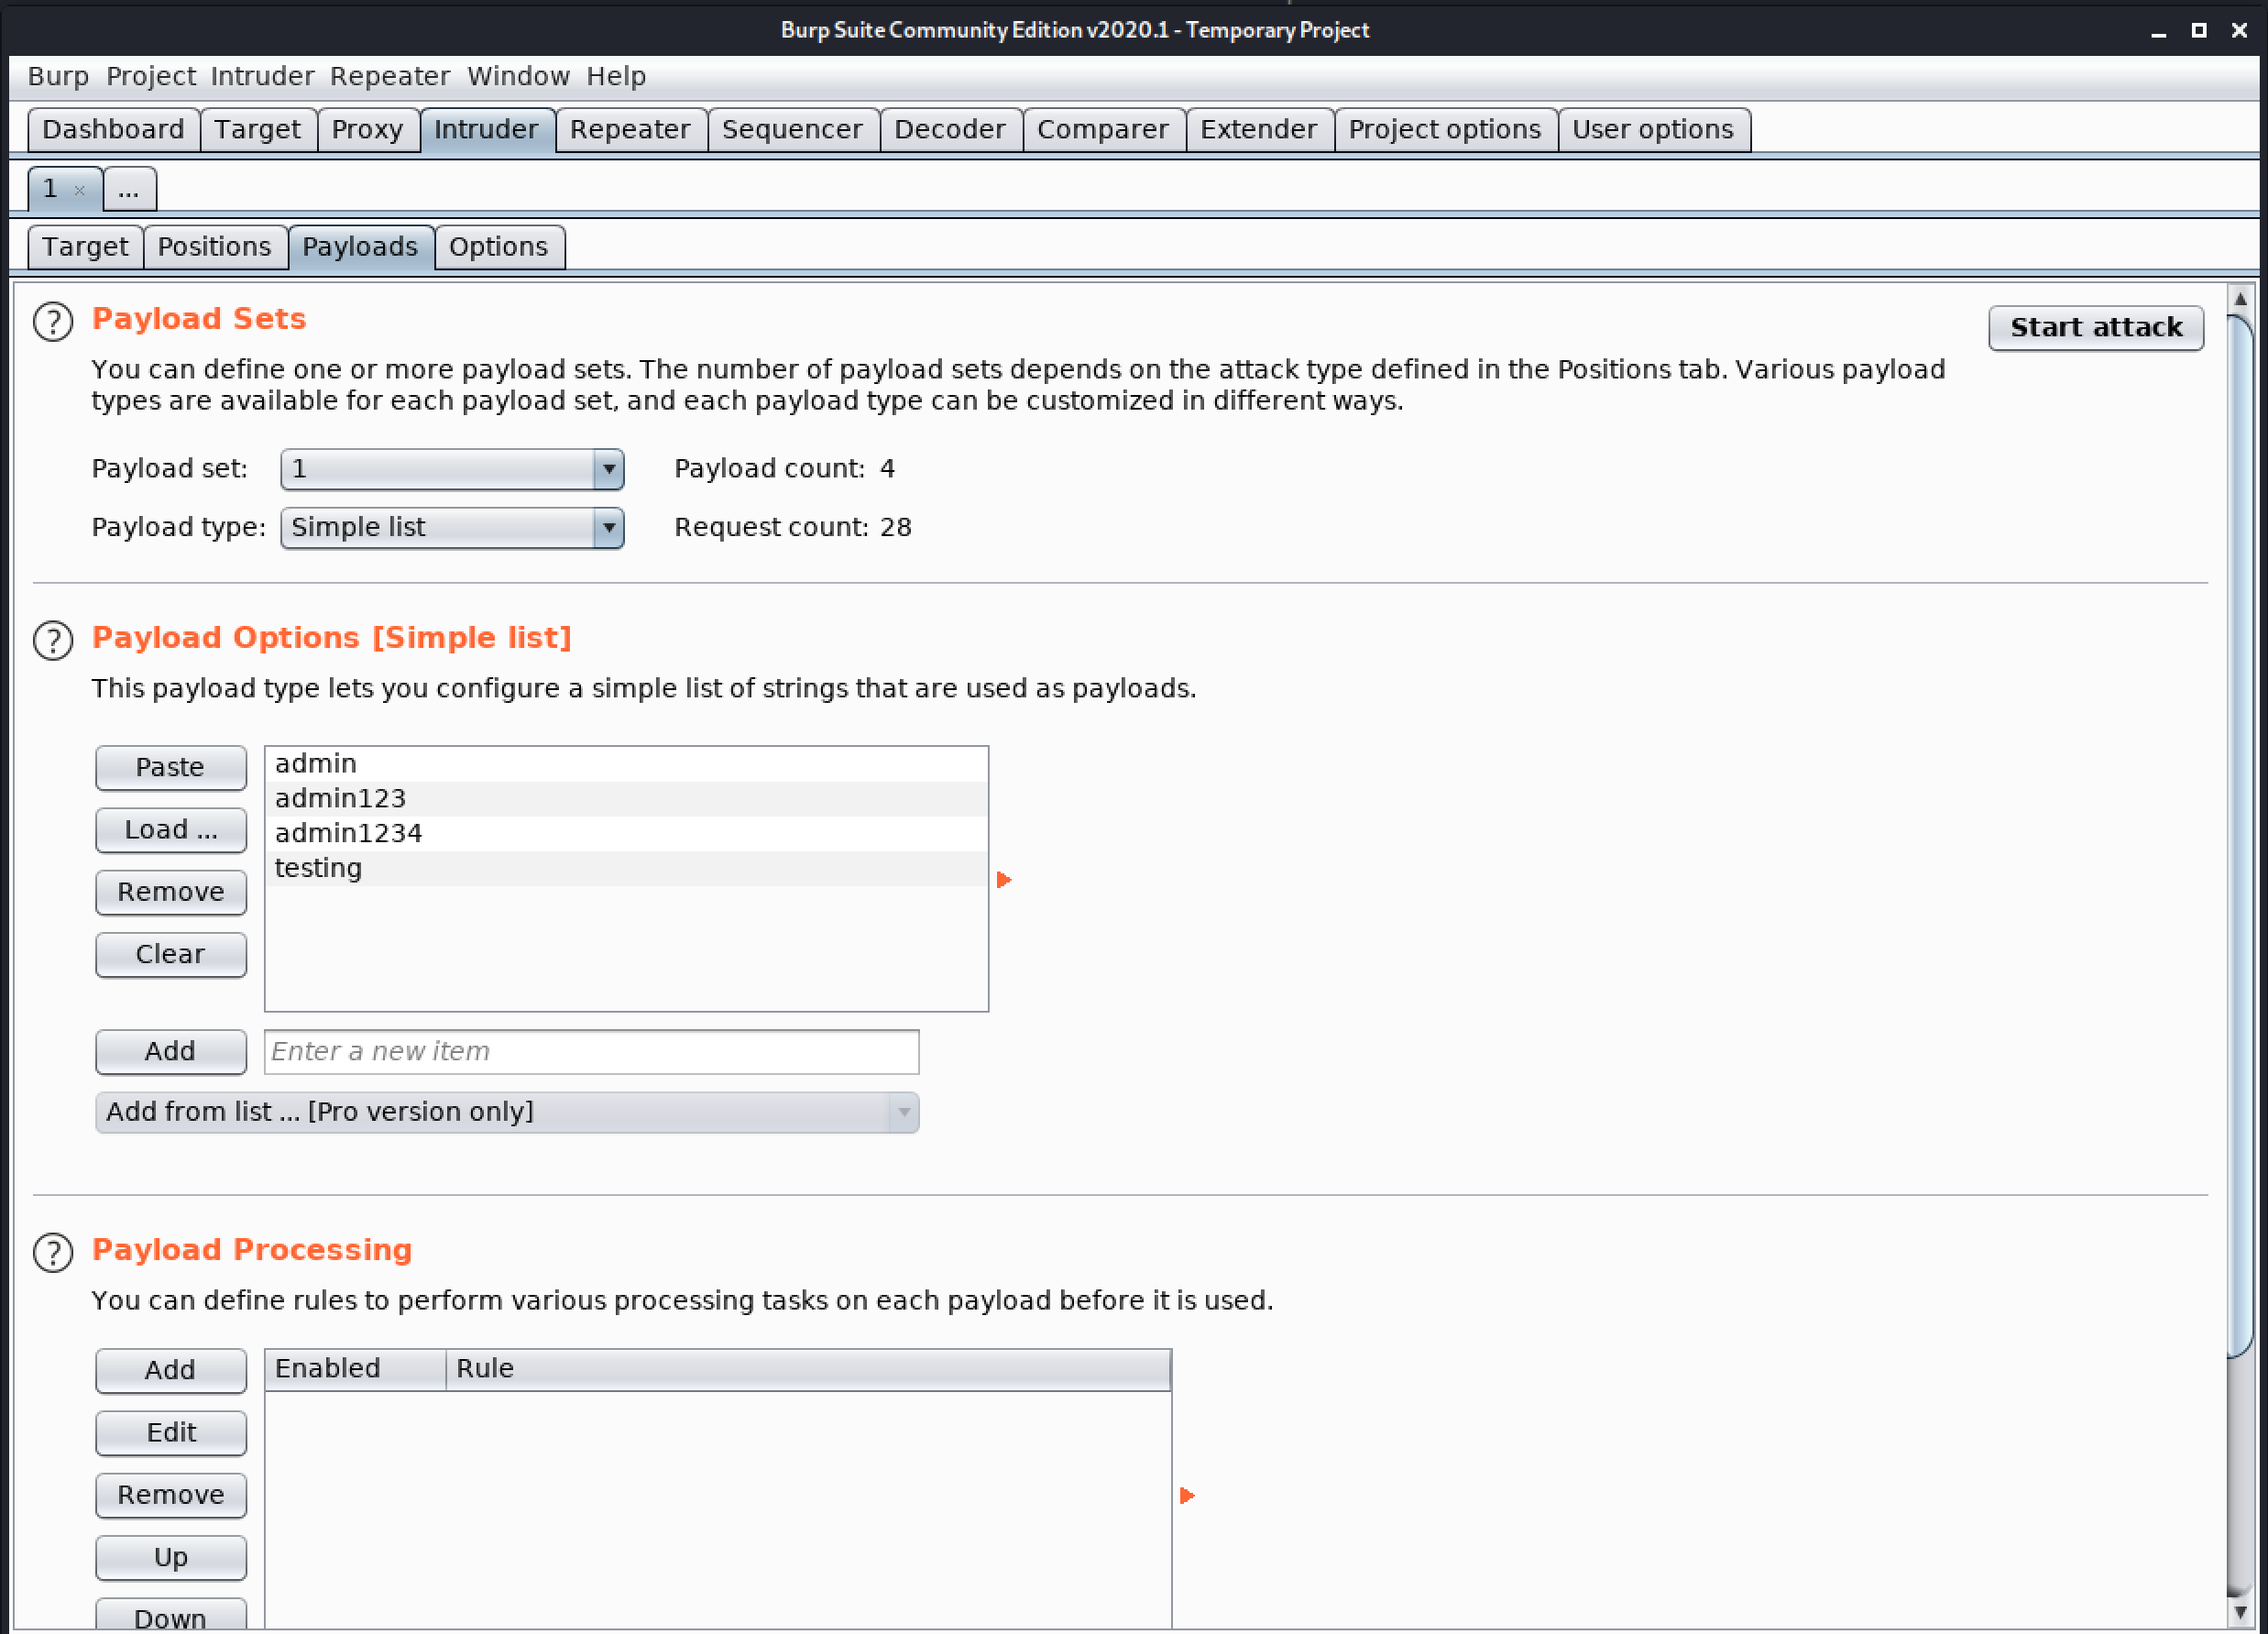
3. Payloads
This tab is used to configure one or more payload sets. The number of payload sets depends on the attack type defined in the Positions tab. For many common tasks, such as brute force guessing a user’s password, fuzzing parameters, or cycling through page identifiers, only a single payload set is needed.
- Payload Sets – Here we can define one or more payload sets. The number of payload sets depends on the attack type defined in the Position tab. Various payload types are available for each payload set, and each payload type can be customized in different ways.
- Payload Options – This payload type lets you configure a simple list of strings that are used as payloads.
- Payload Processing – You can define rules to perform various processing tasks on each payload before it ti used.
- Payload Encoding – This setting can be used to URL-encode selected characters within the final payload, for safe transmission within the HTTP request.
4. Options
This tab contains Intruder attack options for request headers, the request engine, attack results, grep match, grep extract, grep payloads, and redirections. You can edit these options in the main Intruder UI before launching an attack, and most settings can also be modified in the attack window when the attack is already running.
- Request Headers – These settings control whether Intruder updates the configured request headers during attacks.
- Request Engine – These settings control the engine used for making HTTP requests when performing attacks.
- Attack results – These settings control what information is captured in attack results.
- Grep – Match – These settings can be used to flag result items containing specific expressions.
- Grep – Extract – These settings can be used to extract useful information from responses to the attack results table.
- Grep – Payloads – These settings can be used to flag result items containing reflections of the submitted payload.
- Redirections – These settings control how Burp handles redirections when performing attacks.

Congratulation! finally, you know about the Intruder tab which is present in the Burp Suite. In the next Part, we will see how to work with the Intruder Tab.
#burpsuite #burpsuitetutorial #burp #webapplicaitonpentesting